This post contains affiliate links. If you make a purchase through these links, I can earn a commission at no extra cost to you. Thank you!
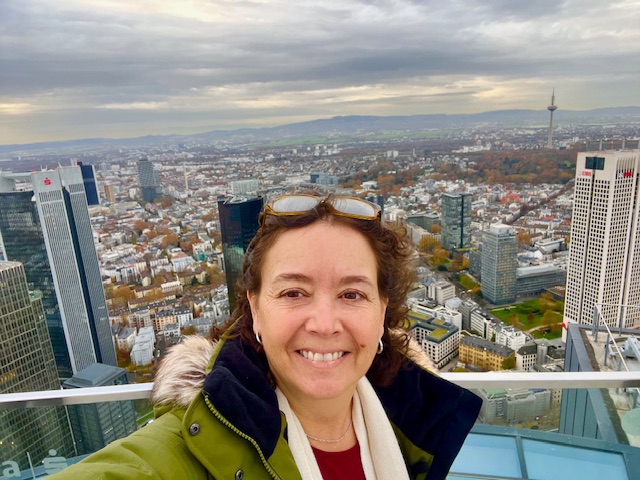
If you’ve just started traveling solo, you may be wondering how you take pictures when you’re by yourself. Taking travel photos of yourself when you’re by yourself can feel like a herculean task. Trust me, I’ve been there. Most of the time, I feel like I’m still there.
I’ve balanced my phone on a precarious pile of rocks, only to have it topple over mid-shot. I’ve set up my tripod with dreams of the perfect photo, only to be foiled by a crowd of tourists who seemed to multiply the second I hit the timer. And asking someone else to take my photo? Awkward doesn’t even begin to describe it.
The truth is, taking photos of yourself while traveling solo is a skill, and like any skill, it gets better with practice. I am by no means an expert at taking photos of myself when I’m traveling. My deleted photo folder proves it. But I am getting better.
I’m not looking to take magazine quality photos or win any awards, but I do want to have decent pictures of myself when I’m traveling.
If you’re looking for ways to take pictures when you’re traveling by yourself, here are some things that I have learned to do:
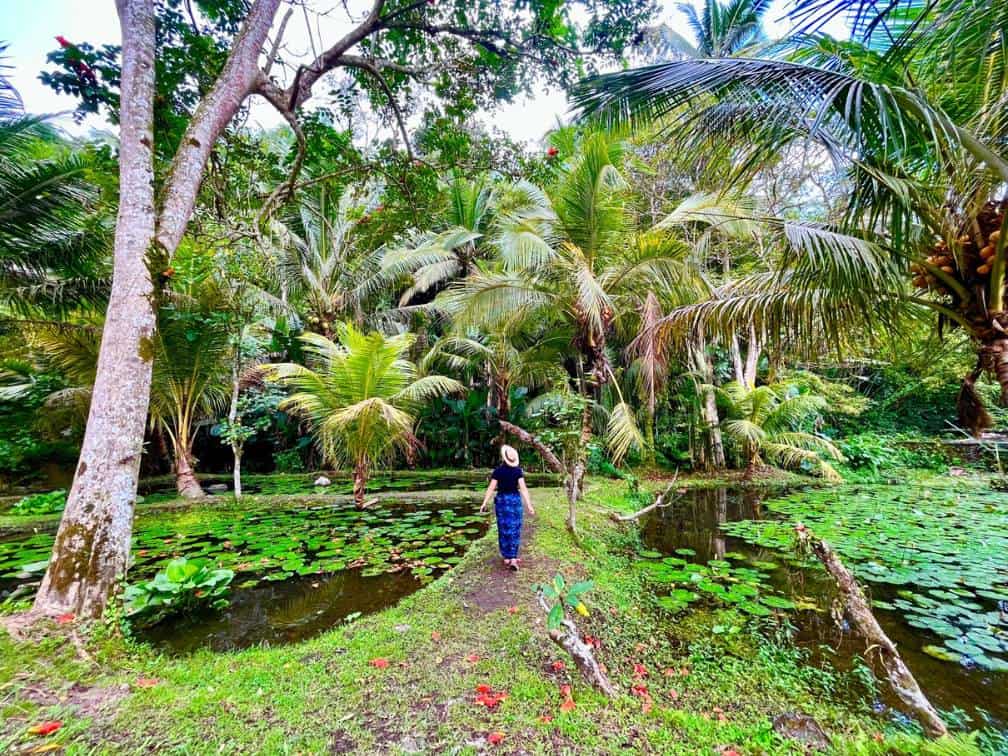
Table of Contents
Is a cellphone enough to take pictures when you’re traveling solo
First things first: your cell phone is more than enough. Modern phone cameras are incredible, and they don’t require a degree in photography to use. Admittedly, I tend to just point and click, so my kids have had to show me how to use a few of the features.
I use an iPhone but pretty much all cell phones now have these capabilities.
- The Timer Function: This is my favorite feature. Set it, get into position, and smile. Easy, peasy. Your timer probably maxes out at 10 seconds though, so if you’re not as nimble as you used to be {cough, cough}, just make sure you’re not trading injury for a picture.
- Focus and Exposure: Tap the screen to focus on your subject (that’s you!), and slide your finger up and down to adjust the brightness for the perfect shot.
- Portrait Mode: If your phone has it, use it. It creates that nice blurred background effect, making your photo look extra polished.
There are photo editing apps that can help adjust your photos but, honestly, your phone’s built-in editor is most likely simple and effective enough. No need to go overboard—a little tweak here and there can make a big difference.
Asking Others for Help
I get it—asking someone to take your photo feels weird. But think about it: couples do this all the time without a second thought. Why should it be any different for solo travelers?
Here’s how to make asking others for help feel less awkward:
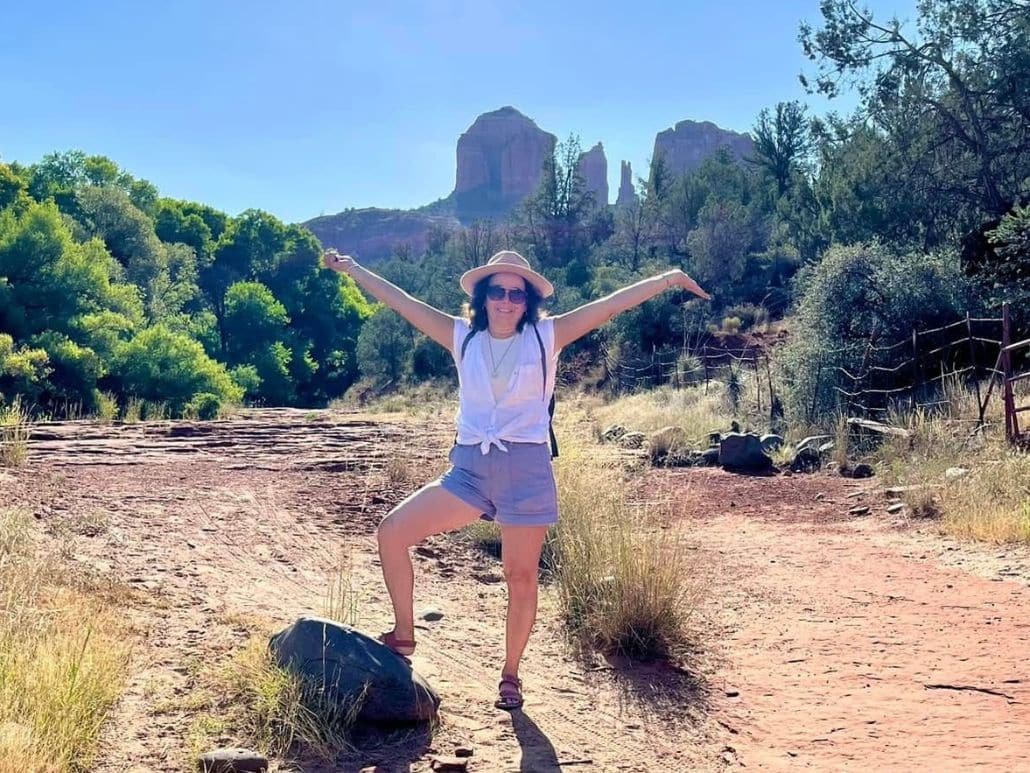
- Pick the Right Person: I usually look for a group of girls or a younger couple to take the picture. I’m sure you’ve seen the “youngsters” posing for their social media posts – those are the ones you want to ask.
- Be Specific: Politely give clear instructions, like “Could you make sure my feet are in the shot?” or “Please keep the volcano in the background.” Most people appreciate the guidance.
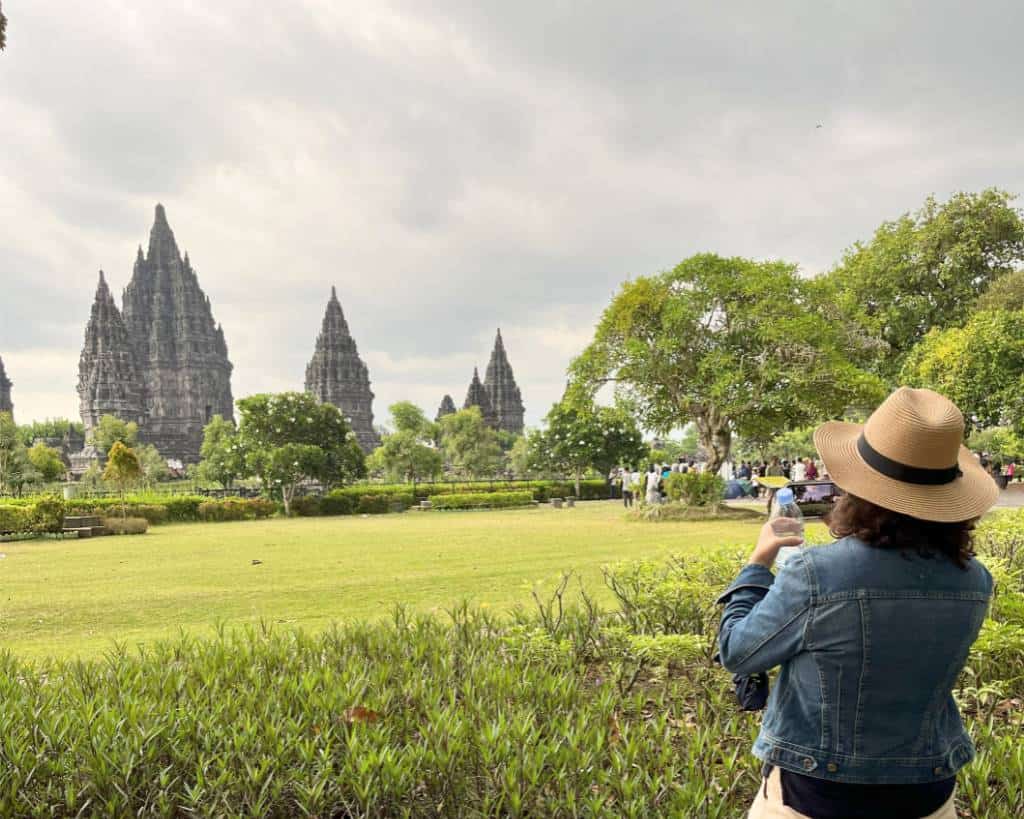
- Offer to Return the Favor: If you see a couple or another solo traveler trying to take a selfie, ask if they would like you to take their picture. They will usually return the favor.
Should you use a Tripod
Tripods come in all shapes and sizes, and the right one can make a huge difference in your pictures. But they take up space, add weight to your bag, and can be awkward to use.
So, should you use a tripod? It really is a matter of personal preference. I’ve gone places and wished I had a tripod with me. I’ve also traveled with a tripod and never even took it out of my bag.
Types of Tripods
- Tripod-Selfie Stick Combos: These are lightweight and versatile, doubling as a tripod and a selfie stick. They usually come with a Bluetooth remote, so you can take pictures without having to push the button on your phone.
- Compact Lightweight Tripods: These are smaller and lighter than the tripod-selfie stick combos and are great for setting up on flat surfaces like tables, benches, or low walls.
- Bendy-Leg Tripods: These short little tripods have flexible legs that can wrap around poles, tree branches, railings, or other uneven surfaces. They’re ideal for hiking or outdoor adventures where you might not find a flat surface.
How to Take Photos Without a Tripod
Tripods are great, but let’s face it: they’re not always practical. Crowded spaces, uneven terrain, or just plain old self-consciousness can make using one tricky.
You can also just take that standard arm’s length selfie. But you probably want something more than that though, right?
Instead, get creative:
- Use What you Have: Benches, ledges, rocks, or even your bag can serve as makeshift tripods. Just make sure your phone is secure. (No one wants a cracked screen souvenir.)
- Frame Before You Set the Timer: Take a test shot to make sure the angle and composition are right. It saves you from running back and forth 100 times.
- Bluetooth Remote: These little gadgets let you snap photos without touching your phone and without using the timer. They’re inexpensive and easy to use. Just position your phone and press the button on the remote.
Posing and Composition Tips for Beginners
Taking a great photo is about more than just hitting the shutter button. You are traveling solo, maybe even for the first time. You should capture your awesomeness in pictures Here are a few simple tips:
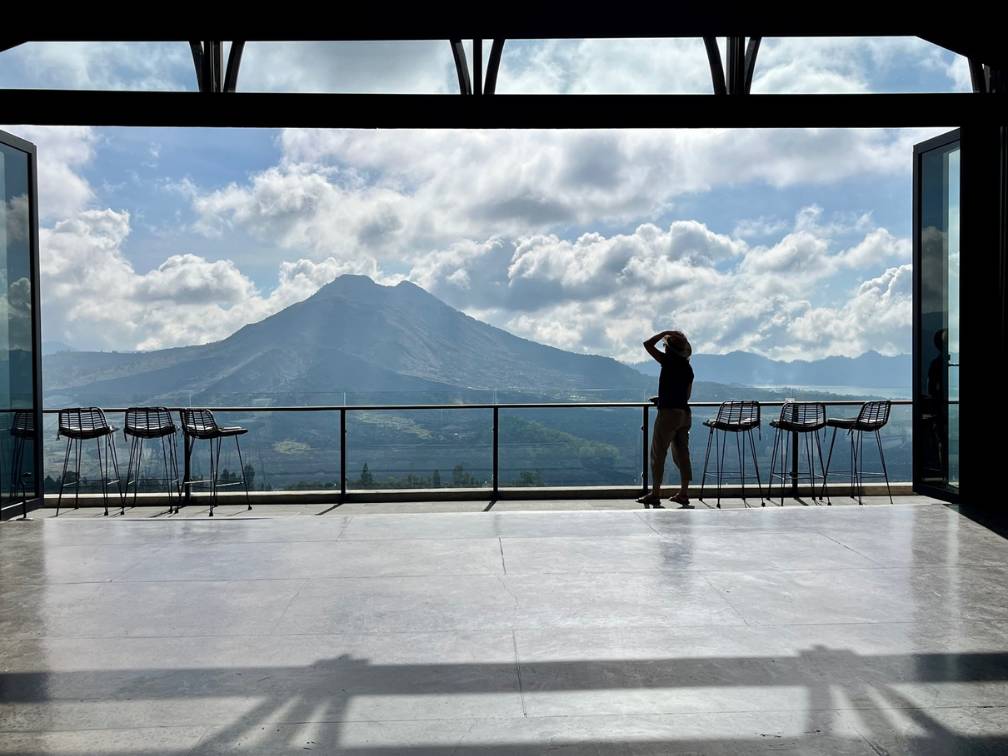
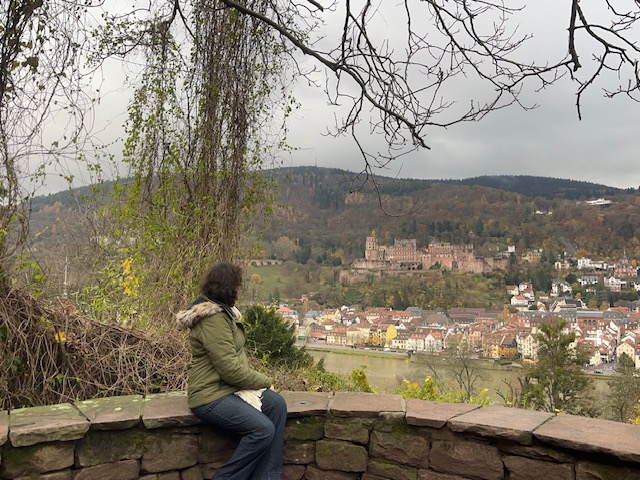
- Keep It Natural: Candid shots, like walking or looking away, often feel more authentic. If you’re using a remote, one thing I’ve been practicing doing is pretending to walk by taking one step and rocking back and forth on your feet. Then I just continuously click the remote a few times. Sounds weird but it works! There’s usually one good picture in the group that looks natural.
- Do Something with Your Hands: Have them on your hips, hold onto your hat, point at the sky, or touch something of interest for a more engaging shot. You’re trying to avoid just standing there with your arms down by your side.
- Use the Rule of Thirds: Position yourself slightly off-center to capture more of your surroundings and to make a more visually appealing shot. If you’re doing the arm’s length selfie, here’s my little tip: hold your phone up high and look up, it will help reduce shadows on your face, make your neck look firmer, and avoid the “up the nose” looking picture.
- Take Multiple Shots: Snap several photos and choose your favorite later. It’s like a mini photo shoot—but without the pressure. A Bluetooth remote is perfect for this!
Practice at Home
Practice really does make perfect. Before your trip, spend some time practicing at home. Experiment with poses, angles, and your phone’s features. Try different outfits and settings to see what works best for you. And don’t worry about getting it right every time.
The more you practice, the better you’ll get.
Final Thoughts
Taking photos of yourself when traveling solo might feel challenging at first, but it’s an empowering skill to learn. Remember, you’re documenting memories for yourself, not competing with anyone for a best selfie award.
The next time you’re traveling solo, embrace the awkwardness, experiment with your camera, and capture those moments that make your journey uniquely yours.
You’ve got this!
Have any solo travel photo tips or funny stories to share? Drop them in the comments!